Overview
The article "10 Essential Tips for Successful Floor Installation" serves as a comprehensive guide aimed at flooring business owners seeking effective solutions for their installation processes. It emphasizes the importance of:
- Selecting the right materials
- Preparing the subfloor adequately
- Hiring qualified installers
- Understanding various installation methods
Each of these critical steps plays a vital role in ensuring a smooth and efficient installation, ultimately enhancing both durability and aesthetics.
By focusing on these essential elements, the article not only provides practical advice but also addresses common challenges faced by flooring professionals. For instance, did you know that improper subfloor preparation can lead to costly repairs down the line? This highlights the necessity of thorough preparation and informed decision-making.
Moreover, the insights shared in this article are backed by industry expertise, making it a valuable resource for those looking to elevate their flooring installation game. Implementing these tips can significantly improve the quality of your work, leading to satisfied customers and repeat business.
In conclusion, the article encourages flooring business owners to take actionable steps towards mastering their installation processes. By following these guidelines, you can ensure that your flooring projects not only meet but exceed client expectations.
Introduction
Successful floor installation is both an art and a science. It requires careful planning and execution to achieve flawless results. This article explores ten essential tips that streamline the installation process and enhance the overall quality of the finished product. As the flooring industry evolves, understanding the nuances of material selection, proper preparation, and expert techniques becomes increasingly vital.
What common pitfalls could derail a seemingly straightforward project? How can professionals navigate these challenges to ensure success? By addressing these questions, we aim to equip flooring business owners with the insights needed to overcome obstacles and achieve excellence in their installations.
Service Buddy: Streamline Your Flooring Installation Process
Service Buddy stands out as a comprehensive platform that replaces outdated tools and spreadsheets. It empowers industry professionals to manage quotes, jobs, and client communications with ease. By centralizing these processes, Service Buddy not only boosts productivity but also ensures that installations are executed smoothly and efficiently.
Imagine a world where your operations run seamlessly, leading to enhanced customer experiences and significant business growth. With Service Buddy, this vision becomes a reality. By streamlining your workflow, you can focus on what truly matters—delivering exceptional service to your clients.
Are you ready to transform your business operations? Embrace the future with Service Buddy and watch as your efficiency soars. Don't let obsolete tools hold you back; take action today and elevate your flooring business with improved floor installation to new heights.
Select the Right Flooring Material for Your Home
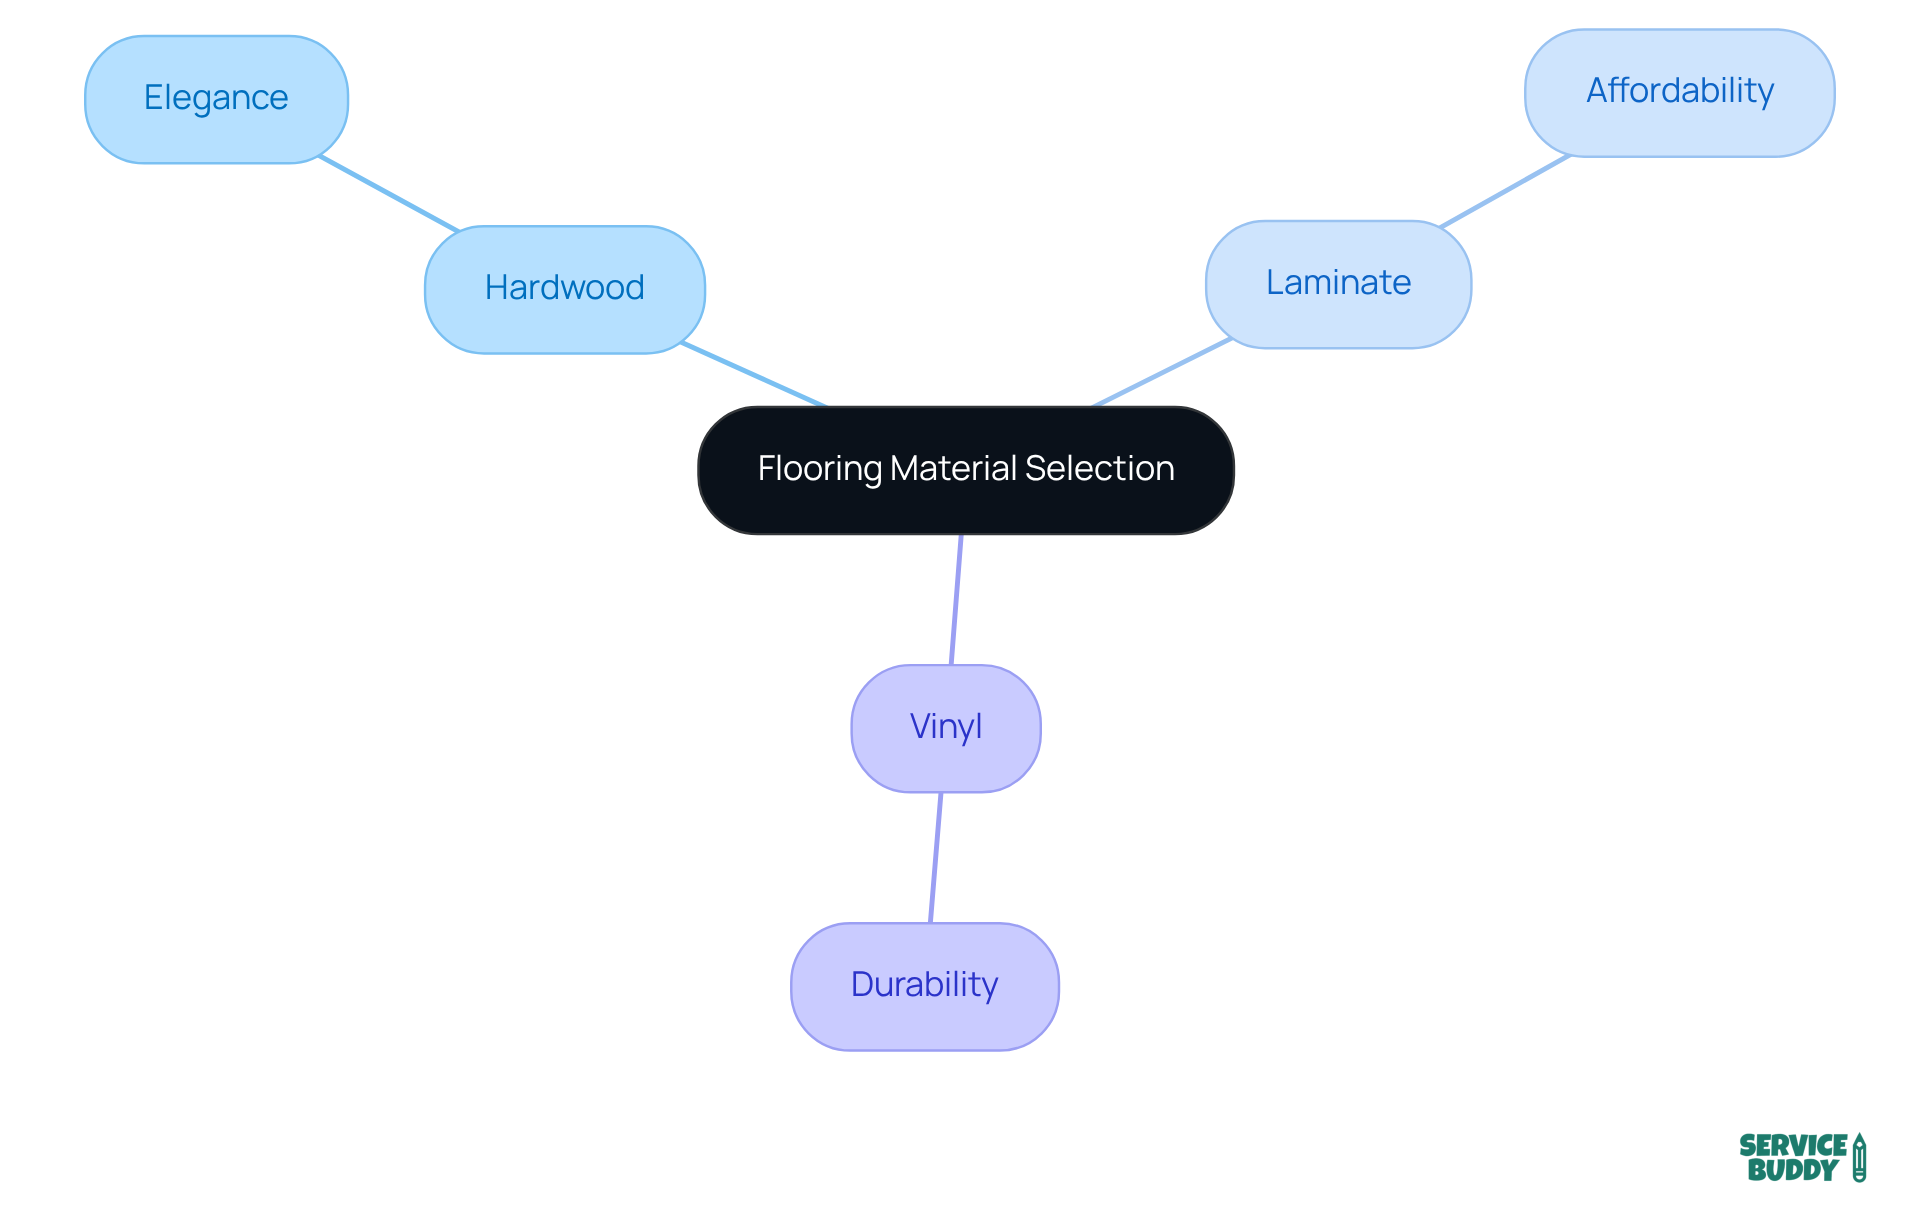
Selecting the right flooring is crucial for any business owner during the floor installation process. Consider factors like foot traffic, moisture levels, and your unique style preferences. Popular options include:
- Hardwood, which exudes elegance
- Laminate, known for its affordability
- Vinyl, celebrated for its durability
Each material offers distinct characteristics tailored to different needs. Evaluating these options based on your specific requirements is essential for making an informed decision about floor installation.
Prepare Your Subfloor for Optimal Installation
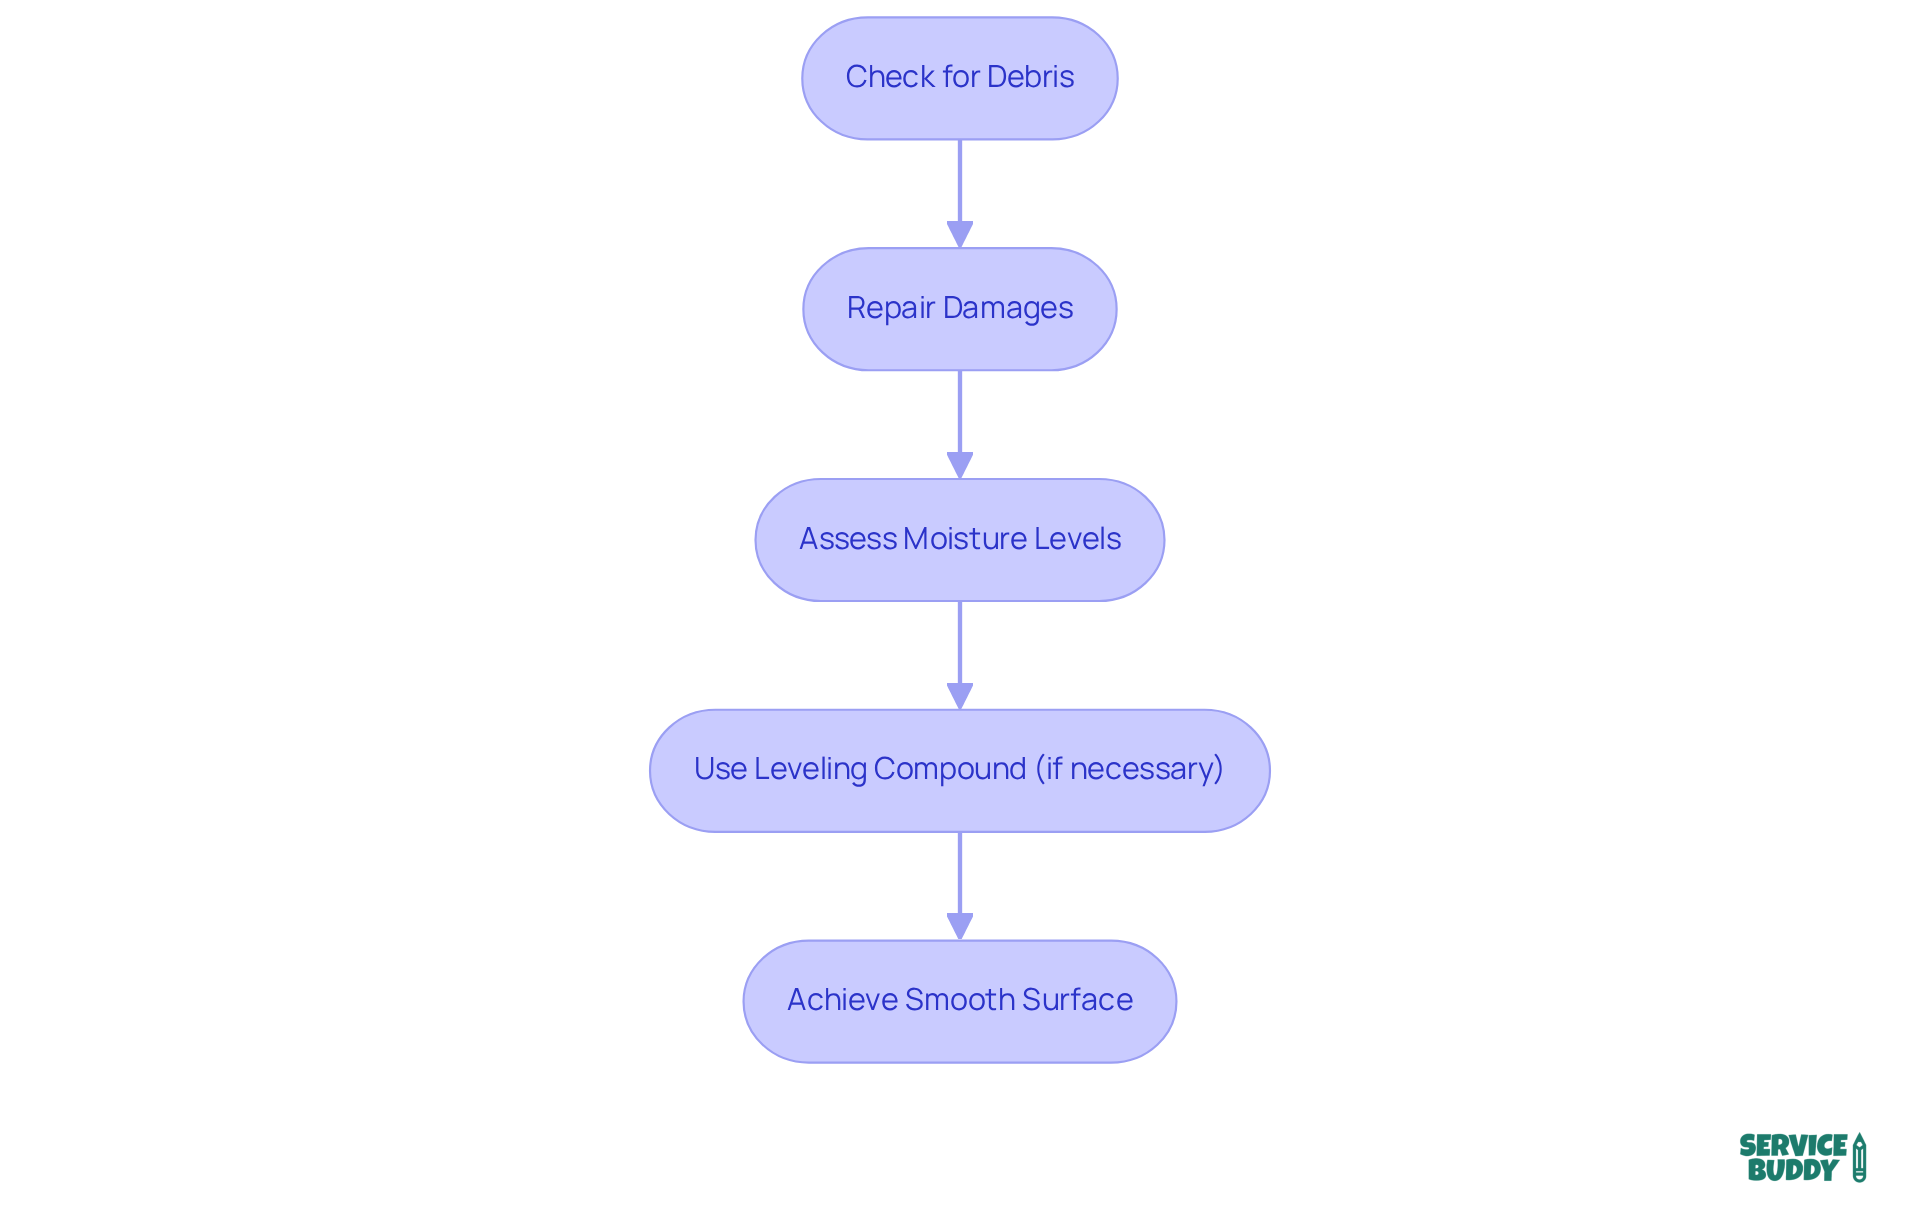
Before you begin your setup, it’s crucial to ensure that the subfloor is clean, dry, and level. Have you checked for debris? Repair any damages and assess moisture levels, as moisture testing is vital to prevent future problems like warping or buckling. A level subfloor is key to avoiding issues such as gaps or cracking; uneven surfaces can increase stress on the flooring, leading to delamination. If necessary, consider using a leveling compound to achieve that smooth surface.
Industry experts agree that proper floor installation starts with a well-prepared subfloor, which not only streamlines the setup process but also extends the durability of your materials. This step is essential in any floor installation project. Remember, neglecting proper subfloor preparation can create safety hazards, particularly tripping risks in high-traffic areas. Don’t overlook this critical phase—your project’s success depends on it.
Hire a Qualified Flooring Installer
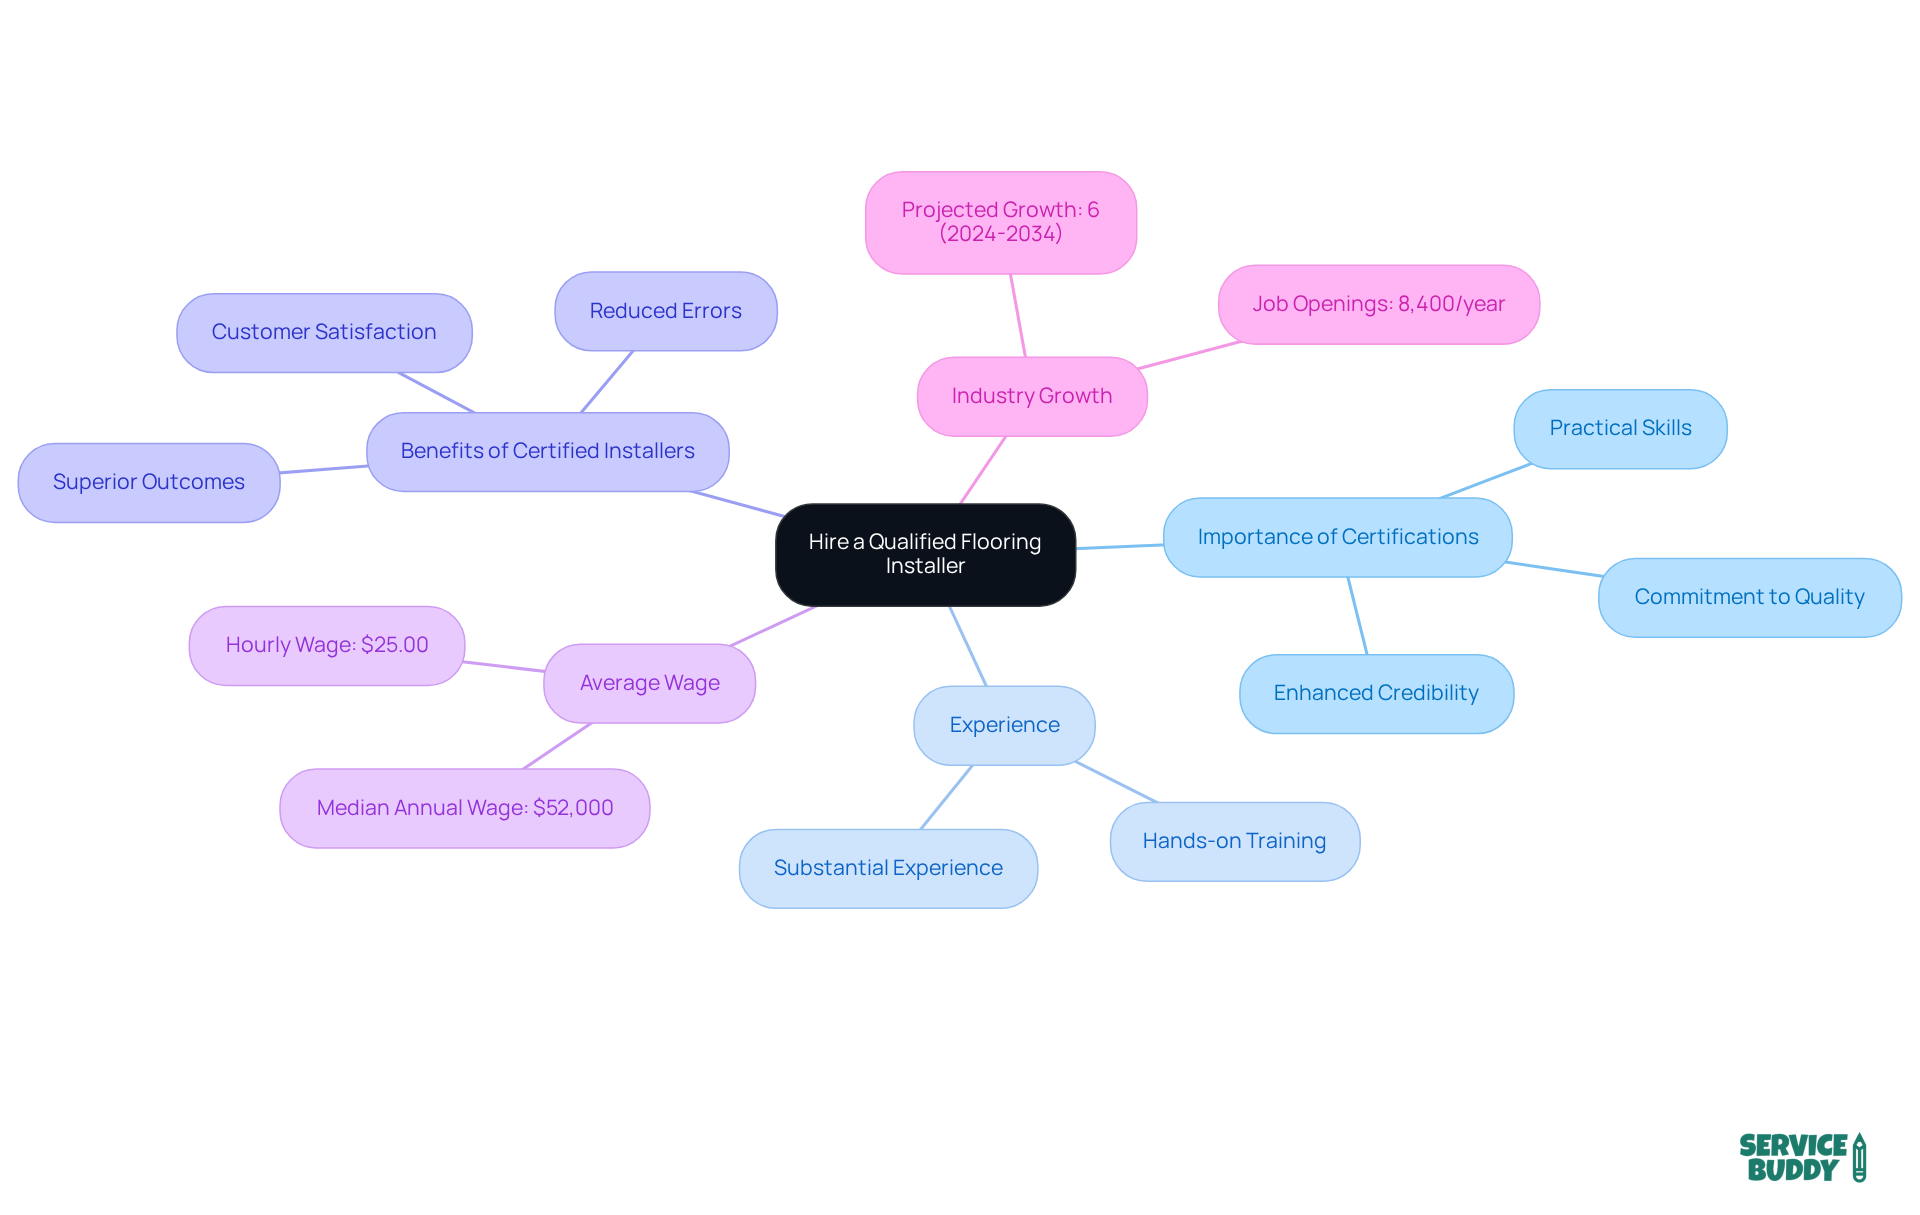
When selecting a surface installer, it’s crucial to prioritize those with recognized certifications and substantial experience. Certified installers demonstrate a commitment to quality and possess the practical skills necessary for various surfaces and installation methods. Did you know that employing certified experts significantly reduces the likelihood of errors during setup? This not only ensures a superior final outcome but also enhances customer satisfaction.
Consider this: the average hourly wage for installers hovers around $25.00, underscoring the value of skilled labor in our industry. Always ask for references and review past projects to verify their successful installation track record. Hiring a proficient installer is not just a choice; it’s an investment that pays off in the long run, leading to durable surface performance.
As the flooring sector is projected to grow by 6% from 2024 to 2034, investing in certified installers will become increasingly beneficial for business owners. This is your opportunity to stay ahead in a competitive market. Make the smart choice today and ensure your projects are handled by the best in the field.
Measure Your Space Accurately
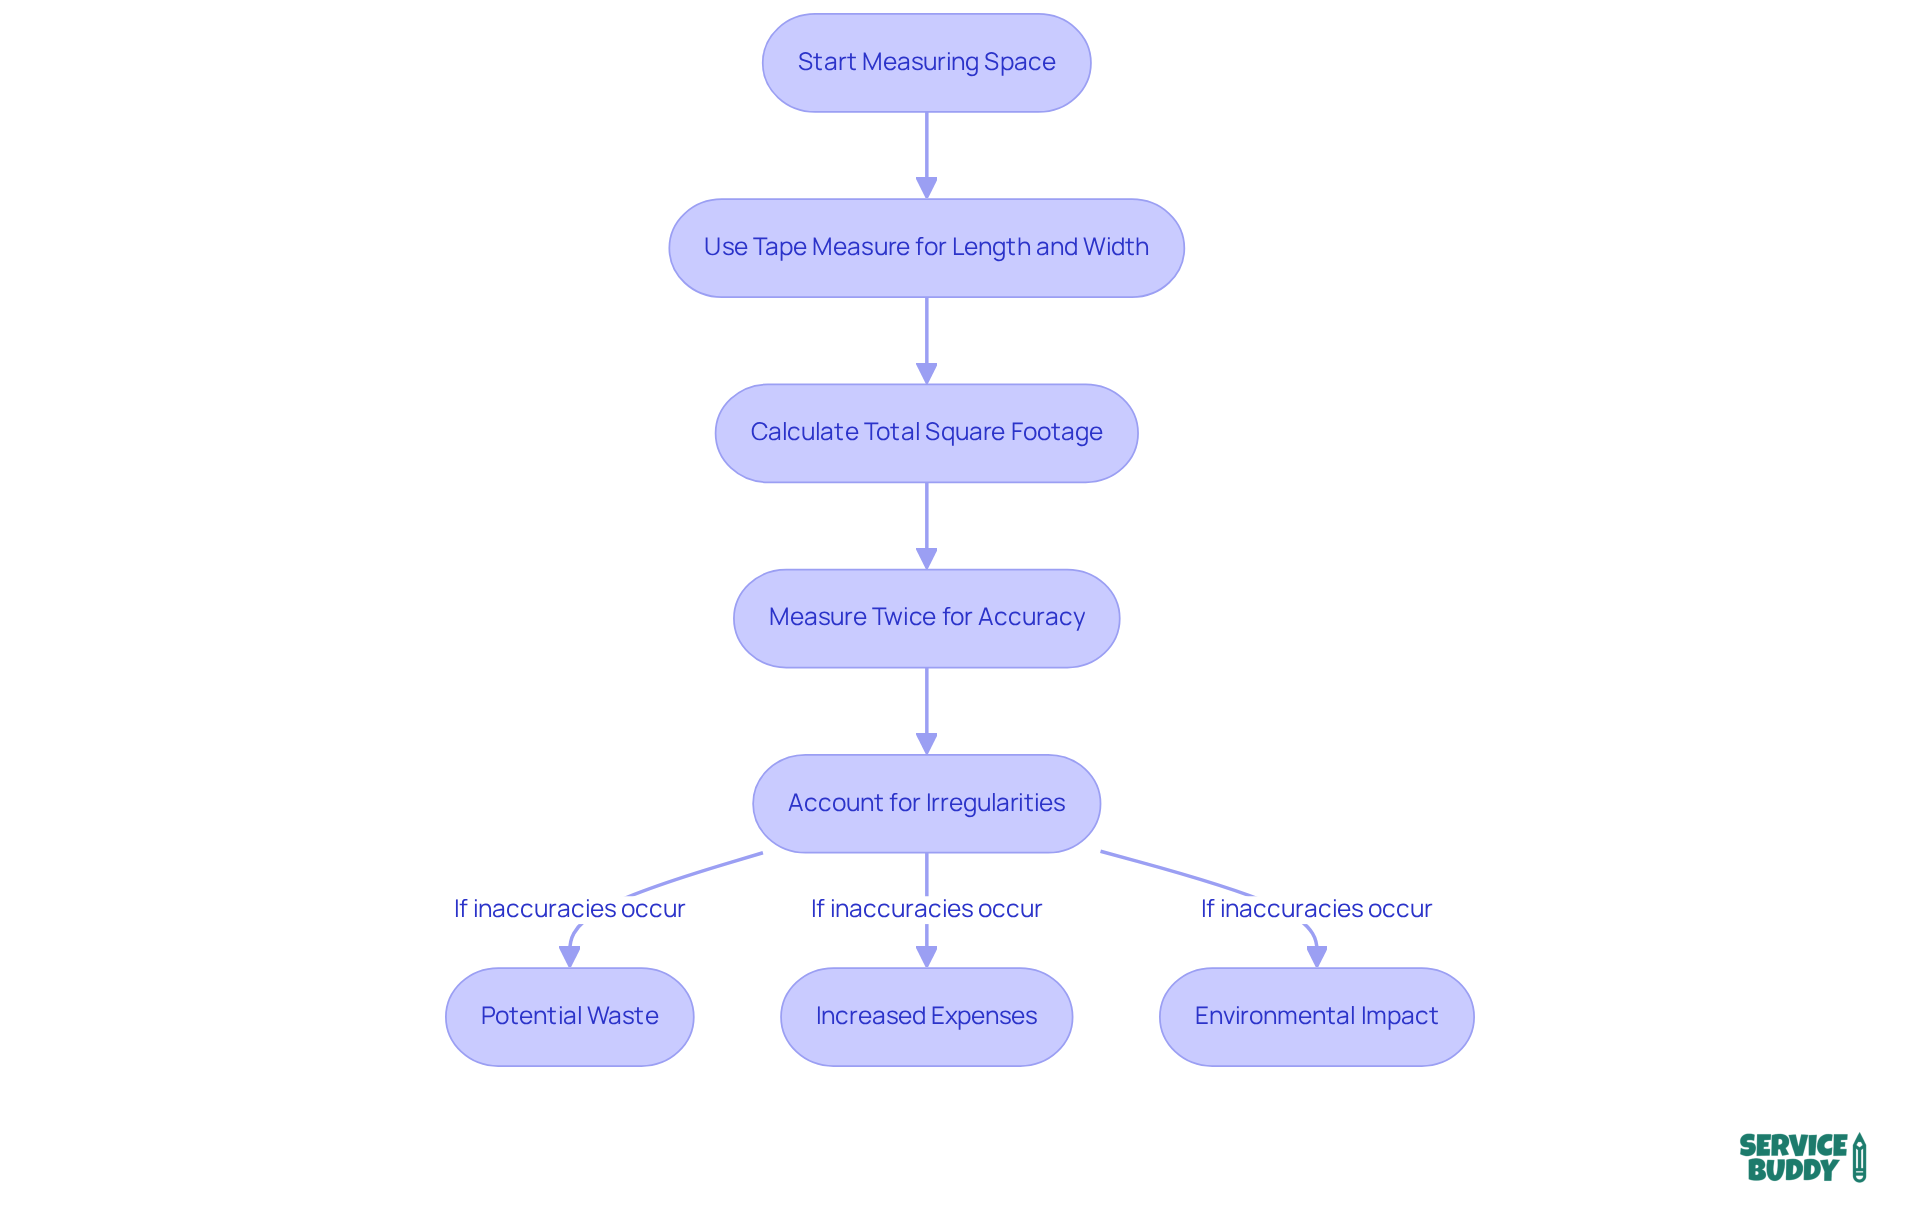
Precise measurements are the cornerstone of any successful surface installation. Start by using a tape measure to determine the length and width of the room, then calculate the total square footage. Remember, measure twice to confirm accuracy; even minor discrepancies can lead to significant issues later on. Be mindful of any irregularities in the room's shape, such as alcoves or protrusions, and include these in your calculations to ensure you request the right quantity of covering.
Specialists in the surface industry emphasize that typical measuring errors can lead to wasted resources and increased expenses. For instance, a surface specialist notes that overlooking distinct room characteristics often results in surplus waste, which can reach up to 10% of the overall material requested. This not only impacts the budget but also contributes to environmental waste. The industry standard for waste when measuring for surfaces is 10%, underscoring the financial and ecological implications of inaccuracies.
Successful projects, like the recent floor installation at Ocean View Tower, showcase the significance of accurate measurements. The project team meticulously measured each area to ensure that the flooring fit perfectly, minimizing the need for adjustments during floor installation. This attention to detail streamlined the process and enhanced the overall aesthetic and functionality of the space. Any measuring mistakes could have led to costly modifications and wasted resources, highlighting the critical importance of precision.
In summary, taking the time to measure your space accurately is crucial. It guarantees that you have the correct quantity of supplies and lays the groundwork for a seamless floor installation process, ultimately resulting in a successful project. To assist with this, consider using a materials calculator tool to determine the exact quantities needed for your project.
Know the Installation Methods for Your Chosen Flooring
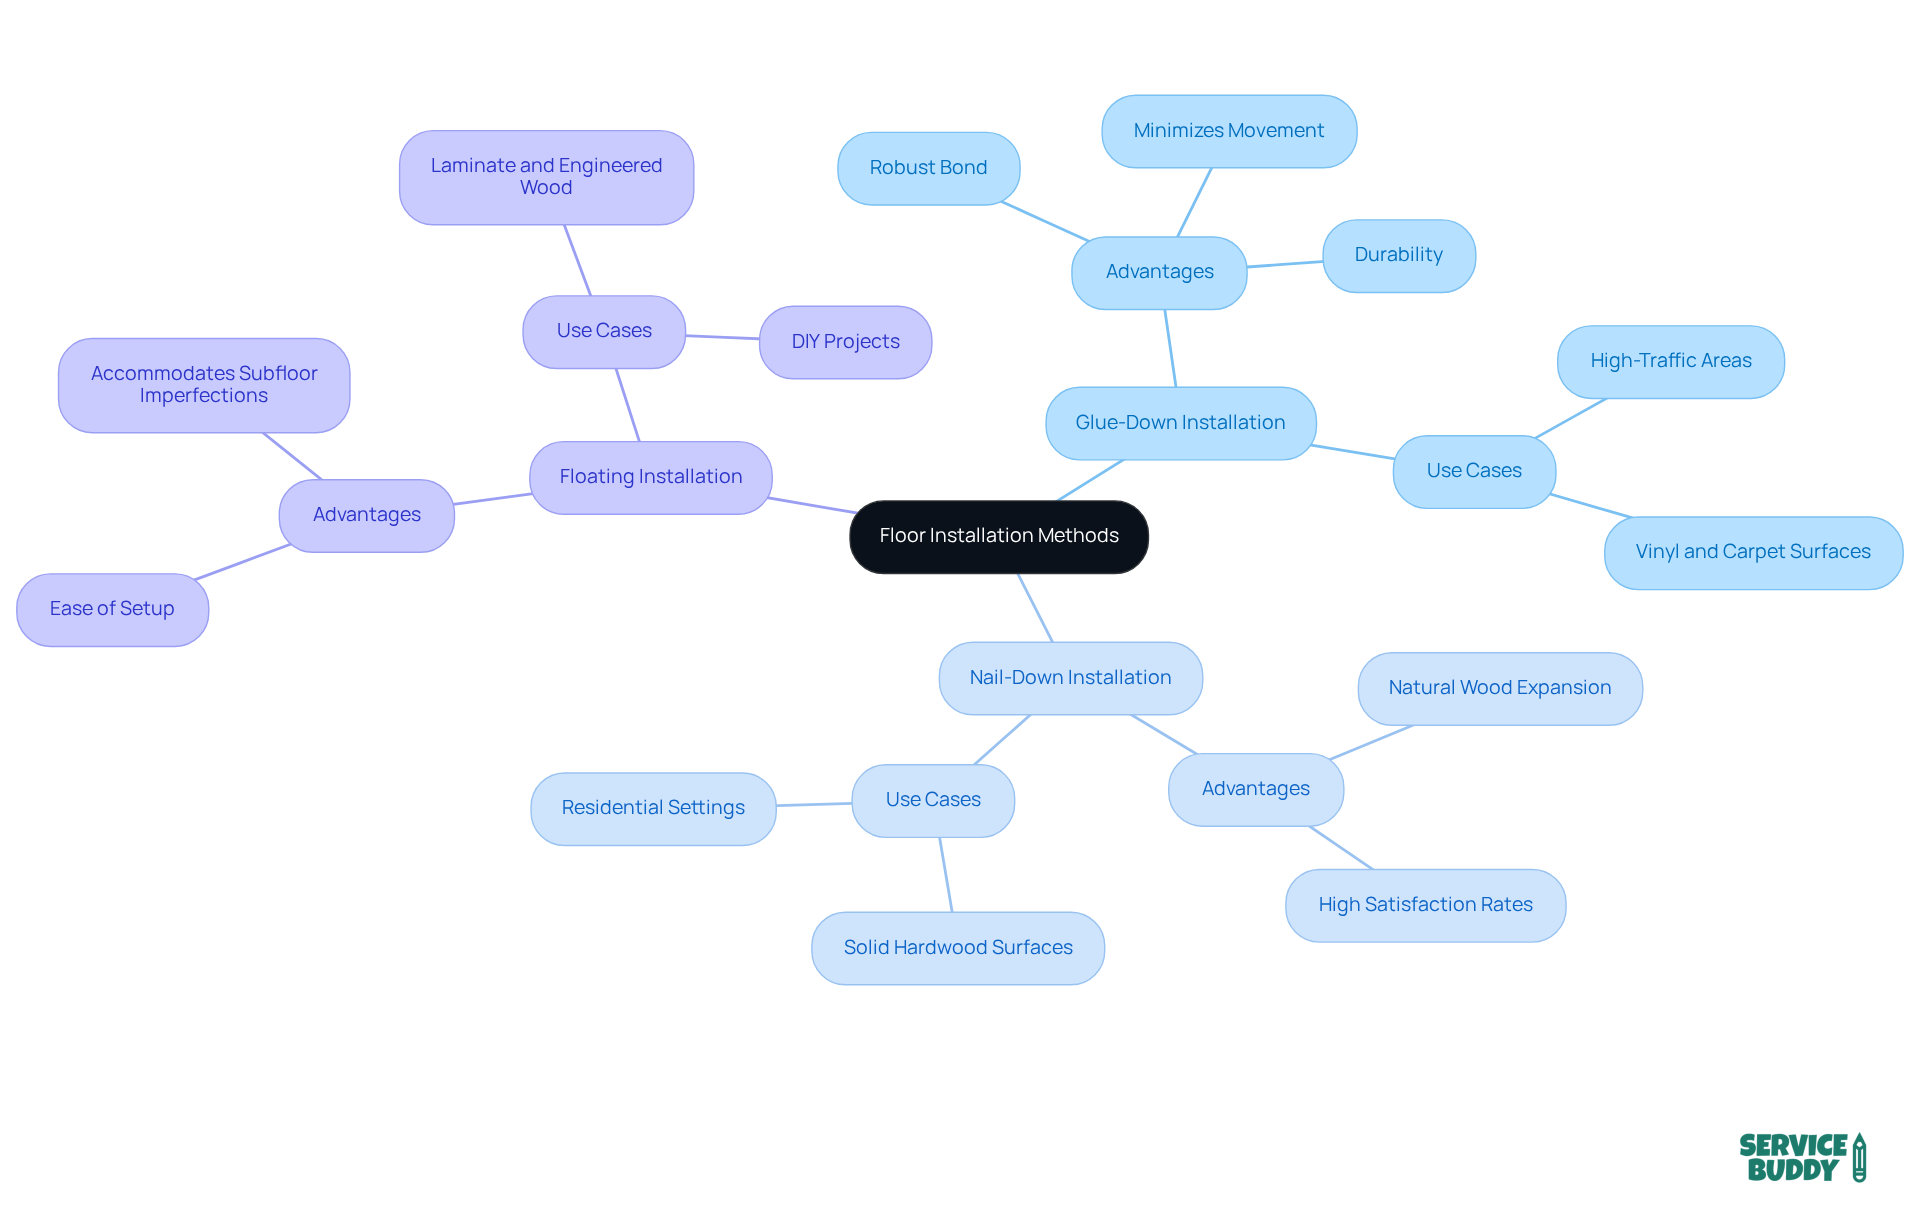
Understanding the various floor installation techniques for surfaces is crucial for achieving optimal results. The three primary methods of floor installation—glue-down, nail-down, and floating—offer unique advantages tailored to specific surface types.
-
Glue-Down Installation: This technique excels with vinyl and carpet surfaces, providing a robust bond to the subfloor. This minimizes movement and enhances durability, making it a go-to recommendation for high-traffic areas. Industry insights reveal that glue-down applications in floor installation deliver exceptional stability, making them a favored choice among flooring professionals.
-
Nail-Down Installation: Typically used for solid hardwood surfaces, this method secures planks to the subfloor with nails, allowing for natural wood expansion and contraction. This makes it ideal for environments with varying humidity levels. Projects utilizing nail-down techniques for floor installation often report high satisfaction rates, particularly in residential settings. As noted by Roman Peysakhovich, the flooring sector is projected to grow at a CAGR of 6.1% from 2021 to 2028, indicating a strong market for quality floor installation.
-
Floating Installation: Perfect for laminate and engineered wood, floating floors interlock without being attached to the subfloor. This method is favored for its ease of setup and ability to accommodate subfloor imperfections, making it a popular choice for floor installation among DIY enthusiasts. Recent trends highlight the significance of moisture control and proper subfloor preparation, with practices like moisture barriers and leveling compounds becoming standard.
When comparing the success rates of these techniques, floor installation using glue-down applications often stands out for its stability, while floating setups are lauded for their versatility and ease of use. For instance, the Ocean View Tower project effectively implemented moisture control methods to ensure floor flatness before wall assembly, underscoring the importance of thorough preparation. Ultimately, the choice between glue-down, nail-down, and floating techniques for floor installation should be guided by the specific material, environmental conditions, and desired aesthetic outcomes.
Acclimate Your Flooring Materials
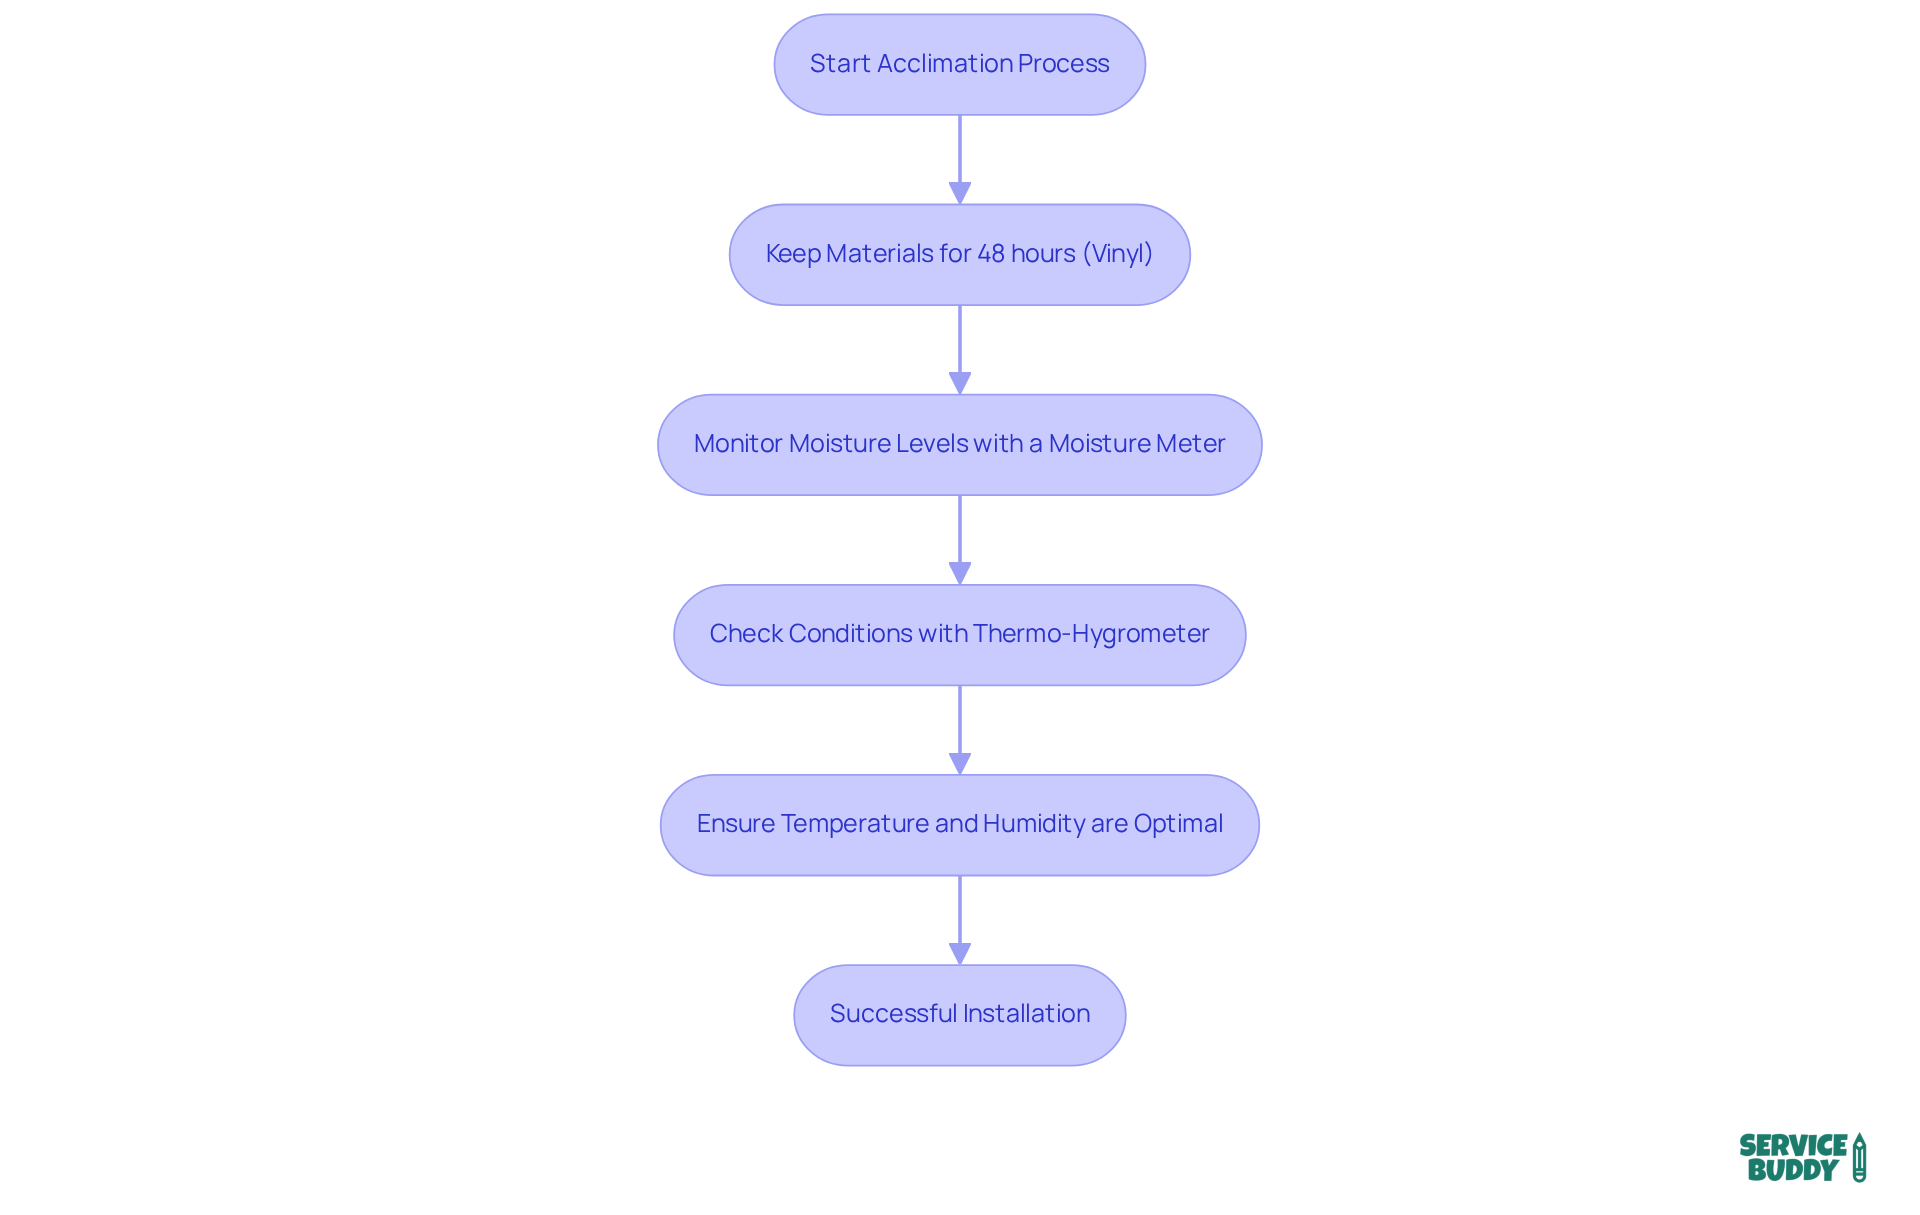
To ensure a successful floor installation, it is essential to acclimate your materials in the installation area for at least 48 hours. This crucial process allows the surface to adapt to the local climate, significantly reducing the risk of expansion or contraction post-installation. During this acclimation period, maintaining a climate-controlled environment is vital. For instance, in Northern climates where humidity can drop to as low as 5%, proper acclimation helps achieve a moisture content of about 7% for wooden surfaces, preventing issues like shrinkage or gaps between boards.
Different types of surfaces come with specific acclimation requirements:
- For vinyl surfaces, it's recommended to keep the materials in the setup area for a minimum of 48 hours to ensure dimensional stability.
- Similarly, carpet padding should be laid flat for at least 24 hours before installation to enhance comfort and avoid wrinkles.
Ignoring these practices can lead to costly repairs or replacements due to warping or buckling.
Using a moisture meter to check the moisture levels of both the surface and the subfloor is crucial. Ideally, the moisture content should be within 2% of each other to guarantee effective bonding during installation. Additionally, employing a thermo-hygrometer to monitor temperature and relative humidity in the room can help maintain optimal acclimation conditions.
Ultimately, proper acclimation not only enhances the performance of adhesives but also extends the lifespan of the materials, ensuring a successful installation that meets both aesthetic and functional expectations.
Use the Right Tools for Installation
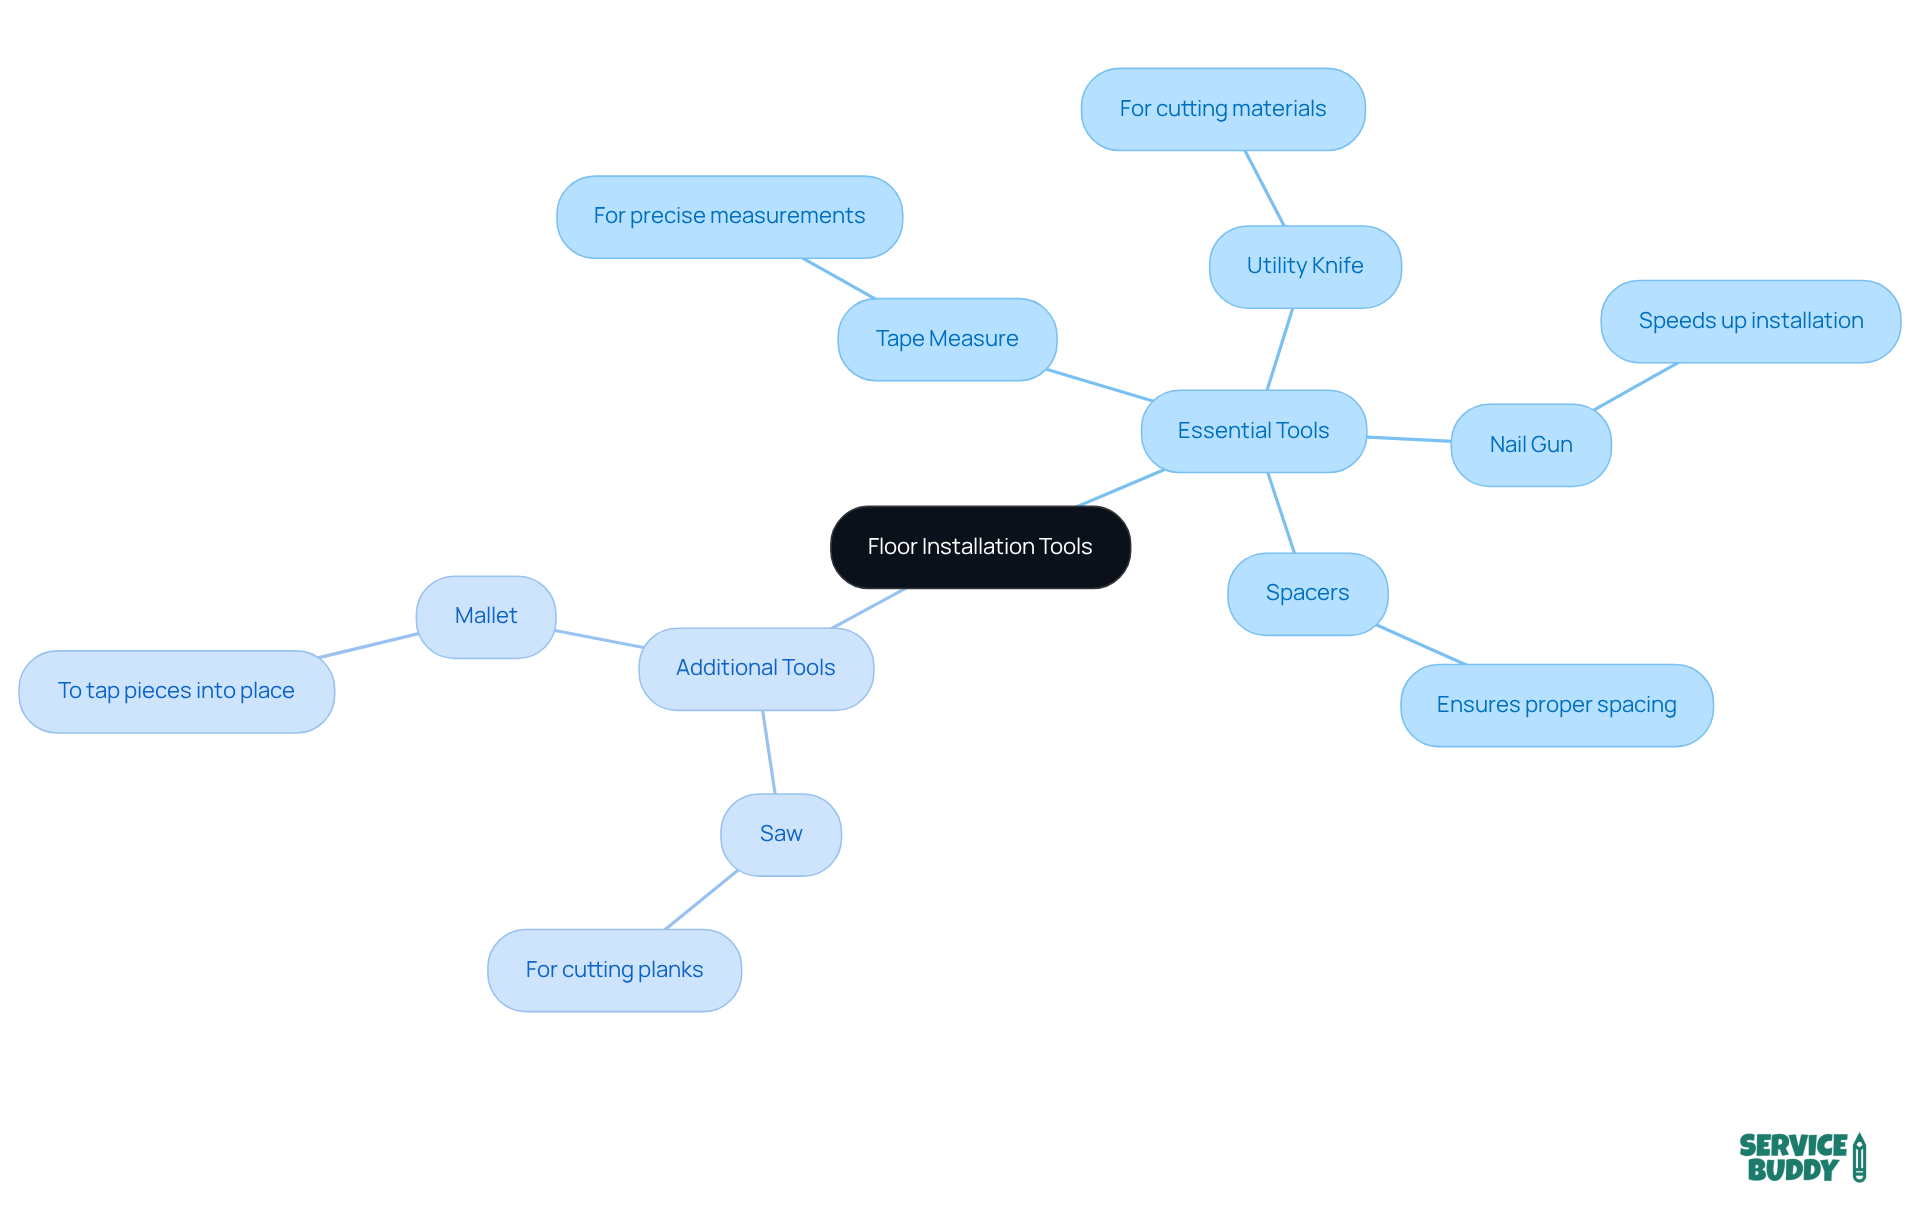
When it comes to floor installation, having the essential tools at your disposal is crucial. A tape measure, utility knife, nail gun, and spacers are fundamental for any installation. Depending on the surface type, you might also need a saw for cutting planks and a mallet to tap pieces into place.
Equipping yourself with the right tools not only streamlines the installation process but also ensures a professional finish that can impress clients. Imagine the difference it makes when every piece fits perfectly and the job is completed efficiently.
Don't underestimate the impact of preparation. By investing in these tools, you're setting the stage for success in your flooring projects. So, gather your equipment and get ready to elevate your installation game!
Understand Maintenance Requirements for Your Flooring
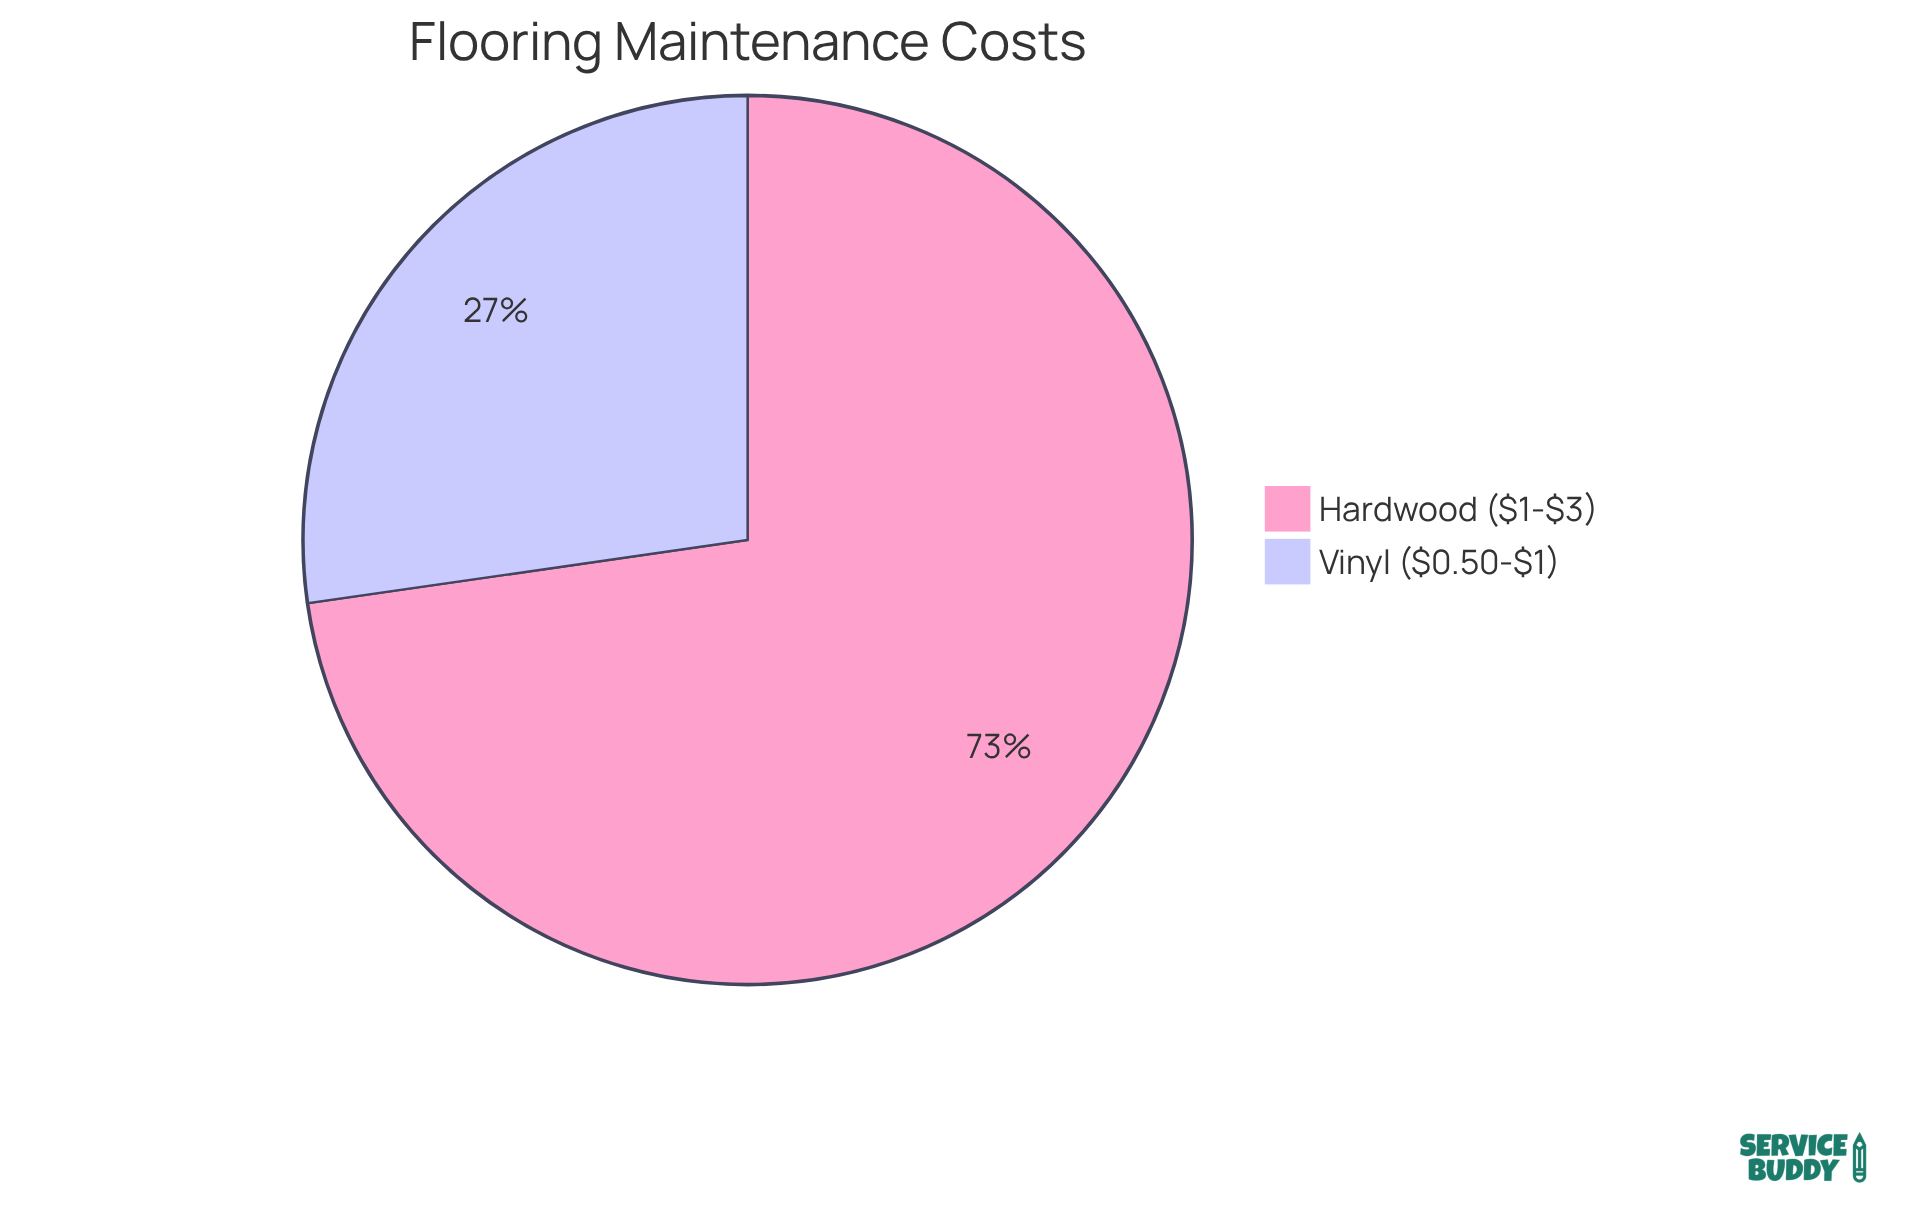
Different surfaces come with distinct maintenance needs that are crucial for their longevity and visual appeal. Take hardwood floors, for example. They require regular sweeping to eliminate dirt and debris, along with occasional refinishing to keep their shine intact. On average, maintaining hardwood can cost between $1 and $3 per square foot annually, depending on the level of care required. In contrast, vinyl floors are much easier to care for; a simple damp mop usually does the trick, and they don’t need refinishing. Maintenance costs for vinyl typically hover around $0.50 to $1 per square foot each year.
To effectively maintain hardwood, consider:
- Placing area rugs in high-traffic zones to prevent scratches
- Promptly addressing spills to avoid stains
- Regular vacuuming to remove dirt and allergens that can harm the fibers
For vinyl, consider:
- Using gentle cleaners to preserve the surface
- Routine sweeping to keep it looking fresh
Experts stress the importance of consistent care. As surface care specialists put it, "Regular maintenance not only prolongs the lifespan of your floors but also reduces the necessity for expensive repairs." Moreover, regular cleaning prevents grime buildup that can degrade materials over time. By grasping and applying these maintenance strategies, flooring professionals can ensure their floor installation remains in top-notch condition, enhancing both aesthetics and durability.
Plan for Transitions Between Flooring Types
When transitioning between different surfaces, using transition strips is essential for achieving a seamless look and hiding any gaps. The choice of transition strip should be based on the height difference between surfaces. For instance, T-molding works well for same-height transitions, while reducer strips are necessary for varying heights. This careful attention to detail not only boosts the aesthetic appeal of your installation but also plays a significant role in safety.
Consider this: slips, trips, and falls accounted for over half of all significant injuries in 2011/2012. This statistic underscores the importance of proper surface transitions in mitigating these risks. Successful projects have shown that well-chosen transition strips can effectively safeguard flooring edges during floor installation and minimize trip hazards, while also aligning with regulatory standards that prioritize accessibility and safety.
Flooring professionals consistently emphasize that the right transition strips are not merely functional; they are vital to the overall design. They ensure that installations are both safe and visually appealing. So, as you plan your next project, remember: the right transition strips can make all the difference.

Conclusion
Successful floor installation relies on a careful blend of planning, the right materials, and skilled execution. By following essential tips—like selecting appropriate flooring materials, meticulously preparing the subfloor, and hiring qualified installers—you lay the groundwork for a seamless and visually appealing result. Each step, from accurate measurements to understanding installation methods, is crucial in ensuring that the final outcome meets both functional and aesthetic expectations.
Key insights emphasize the importance of:
- Acclimating flooring materials
- Using the right tools
- Maintaining surfaces post-installation
These practices not only enhance the durability and appearance of the flooring but also help prevent potential issues that could arise from negligence. Additionally, planning for transitions between different flooring types ensures safety and coherence in design, further elevating the overall quality of the installation.
As the flooring industry evolves, embracing these best practices is vital for staying competitive and meeting customer needs. Whether you’re a flooring professional or a homeowner embarking on a project, adopting these strategies will pave the way for success. So, why wait? Implement these tips now and transform your flooring experience, ensuring that every installation reflects excellence and meticulous attention to detail.
Frequently Asked Questions
What is Service Buddy and how does it benefit flooring installation professionals?
Service Buddy is a comprehensive platform designed to replace outdated tools and spreadsheets, allowing industry professionals to manage quotes, jobs, and client communications efficiently. It boosts productivity and ensures smooth and efficient installations.
How can Service Buddy enhance customer experiences?
By streamlining workflows, Service Buddy enables flooring professionals to focus on delivering exceptional service, which leads to improved customer experiences and significant business growth.
What factors should be considered when selecting flooring material for installation?
Key factors include foot traffic, moisture levels, and personal style preferences. Popular flooring options include hardwood for elegance, laminate for affordability, and vinyl for durability.
Why is it important to prepare the subfloor before installation?
Preparing the subfloor is crucial because it must be clean, dry, and level to prevent issues such as warping, buckling, gaps, or cracking in the flooring. Proper preparation extends the durability of the materials and ensures a successful installation.
What steps should be taken to ensure a well-prepared subfloor?
Check the subfloor for debris, repair any damages, and assess moisture levels through testing. If the surface is uneven, consider using a leveling compound to achieve a smooth surface.
What are the consequences of neglecting subfloor preparation?
Neglecting proper subfloor preparation can lead to safety hazards, such as tripping risks in high-traffic areas, and can compromise the overall success of the flooring installation project.


